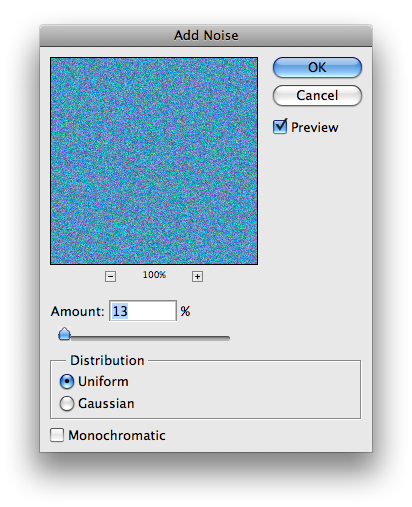
Fill the selection with #79a5c6 using the Paint Bucket Tool. Then go to Filter > Noise > Add Noise.Use the settings shown below:
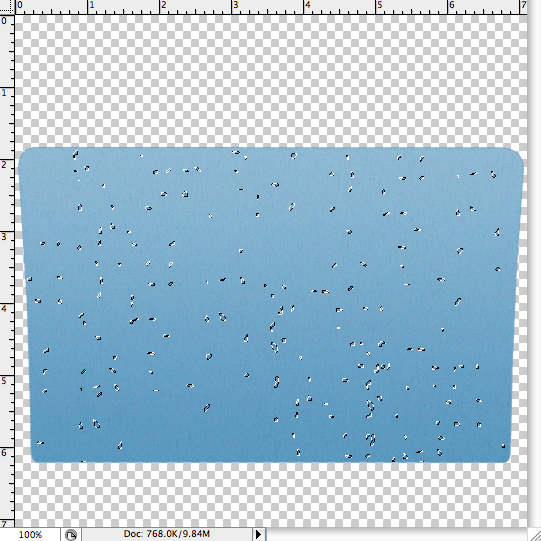
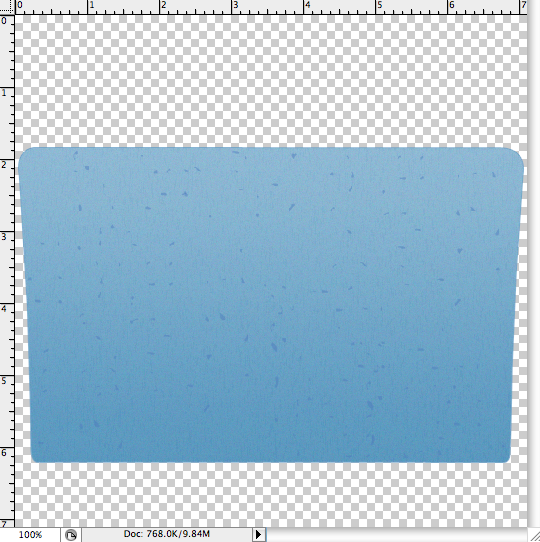
Once you have successfully added noise to "Folder_Bottom_Noise", lower down the opacity of the layer to 15%.
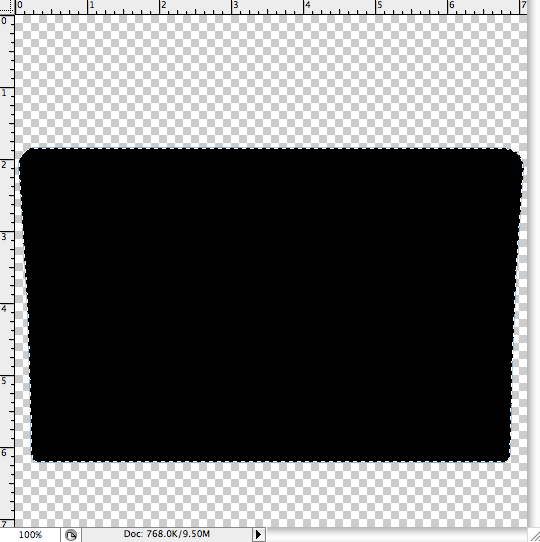
Now let’s add some more detail to the folder. Duplicate "Folder_Bottom". Rasterize the new layer by simply double clicking and selecting the respective option. Name this layer "Folder_Bottom_Sketch".Again, be sure to turn off any layer style on "Folder_Bottom_Sketch".
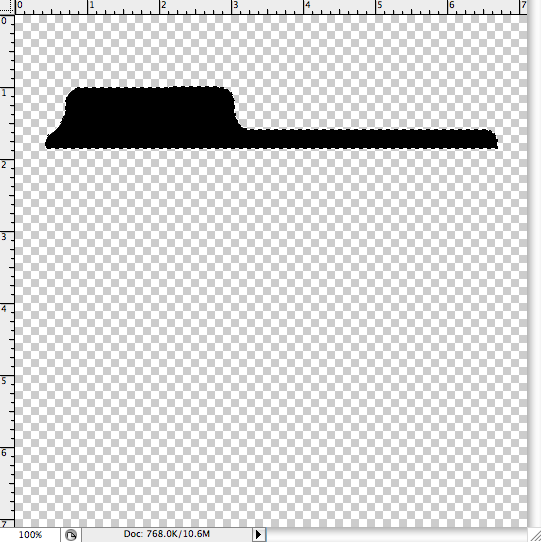
Now select the Magic Wand from the Toolbox and click inside "Folder_Bottom_Sketch", selecting the folder shape like shown below:
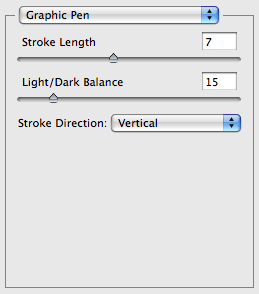
Fill the selection with #79a5c6 using the Paint Bucket Tool. Then go to Filter > Sketch > Graphic Pen. Use the settings shown below:
Once you have successfully added the sketch effect to "Folder_Bottom_Sketch", lower down theopacity to 10%.
And finally, create a new layer and name it "Folder_Bottom_Scatter". Grab the Lasso Tool and create random scatter like shown below:
Tip
You might want to hold down the Shift button while drawing the scatter.
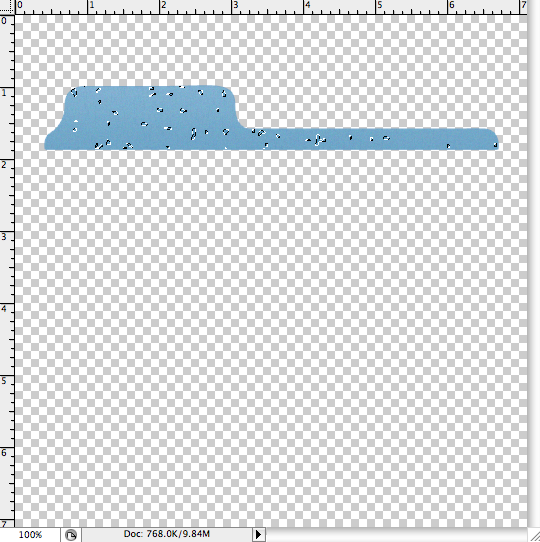
If you have any difficulty in doing so, you may use this "scatter" brush I made. Now fill the selection with #80adcf. Once that is done, you should have something that looks like this:
Step 8: Add More Styling to "Folder_Top"
Hide "Folder_Bottom", "Folder_Bottom_Noise", "Folder_Bottom_Sketch" and "Folder_Bottom_Scatter". Then select "Folder_Top" and Duplicate it. Rasterize the new layer and name it "Folder_Top_Noise". Make sure that any layer style is set to off.
Now select the Magic Wand from the Toolbox and click inside "Folder_Top_Noise", selecting the folder shape like shown below:
Fill the selection with #79a5c6 using the Paint Bucket Tool. Then go to Filter > Noise > Add Noise. Use the settings shown below:
Once you have successfully added noise to "Folder_Top_Noise", lower down the opacity of the layer to15%.
Now let’s add some more detail to the folder. Duplicate "Folder_Top". Rasterize the layer by simply double clicking and selecting the respective option. Name this layer "Folder_Top_Sketch". Again, be sure to turn off any layer style.
Now select the Magic Wand from the Toolbox and click inside "Folder_Top_Sketch", selecting the folder shape like shown below:
Fill the selection with #79a5c6 using the Paint Bucket Tool. Then go to Filter > Sketch > Graphic Pen. Use the settings shown below:

Once you have successfully added the sketch effect to "Folder_Top_Sketch", lower down the opacityof the layer to 10%.
And finally, create a new layer and name it "Folder_Top_Scatter". Grab the Lasso Tool and create random scatter like shown below:
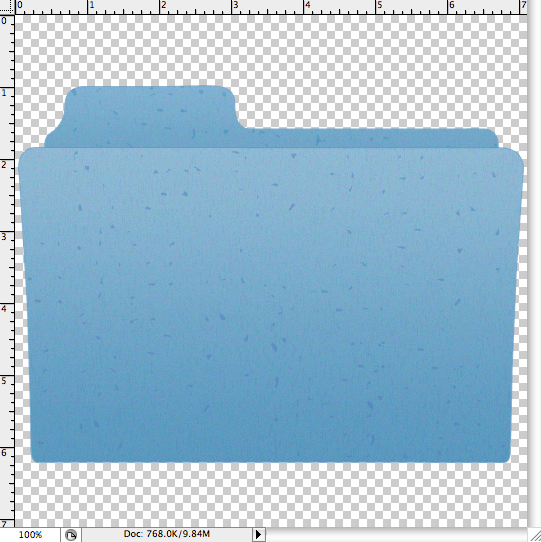
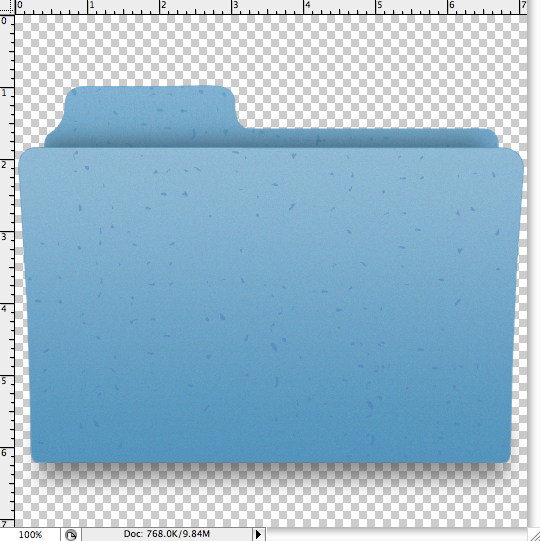
Set "Folder_Bottom", "Folder_Bottom_Noise", "Folder_Bottom_Sketch" and "Folder_Bottom_Scatter" to Visible. Once that is done, you should have something that looks like this:
Step 8: Add Shadow
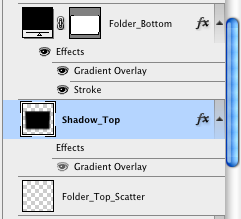
Duplicate "Folder_Bottom" and Rasterize it. Name the new layer "Shadow_Top". Also, be sure to turnoff any layer styles. Place this layer between "Folder_Bottom" and "Folder_Top_Scatter" like shown below:
Then go to Filter > Blur > Gaussian Blur. Apply the settings shown below:

Once you’ve done that, position "Shadow_Top" like shown below: (Make sure it can be seen when "Folder_Bottom" is visible. You might also need to use the Free Transform Tool by going to Edit > Free Transform in order to change the size of "Shadow_Top" so that it looks like the image shown below)
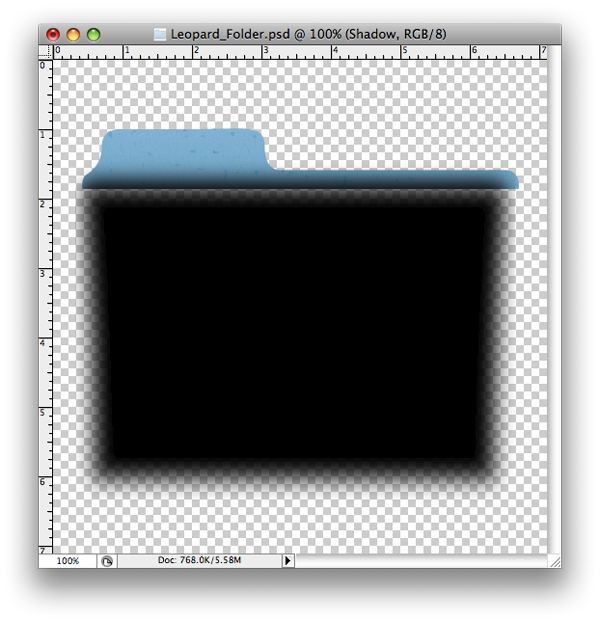
Then lower down the opacity of "Shadow_Top" to 30%.
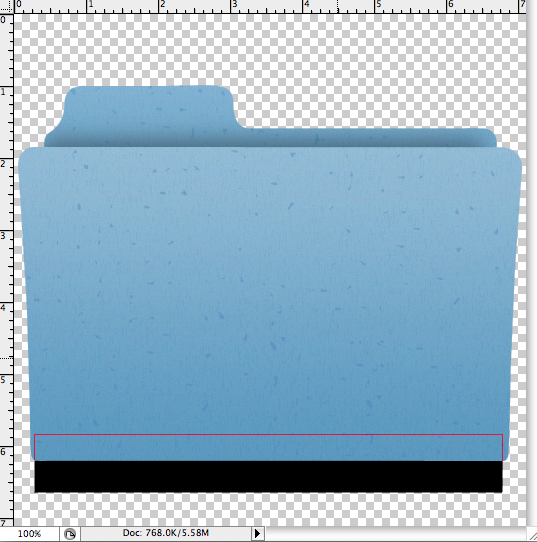
Next, grab the Rectangle Tool and draw a rectangle like shown below: (Make sure that the rectangle is below "Folder_Bottom" )
Name the shape "Shadow_Bottom" and Rasterize it. Then go to Filter > Blur > Gaussian Blur. Apply the settings shown below:
Position "Shadow_Bottom" like show below: (You might have to use the Free Transform Tool to edit the size of "Shadow_Bottom")

Your resultant image should look something like this:
Step 10: Add Logo
Now let’s add a logo to our folder. Create a new layer and name it "Logo". Now draw any shape you like (I’m using an "X" in this case).
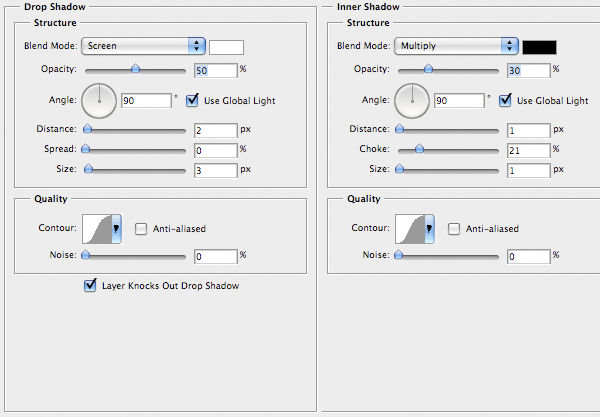
Fill your shape with #7a9db8 and lower down the opacity to 80%. Then double click on "Logo" and select Blending Options. Add Drop Shadow and Inner Shadow to your shape using the following settings:
Comentarios
Publicar un comentario